RAM Mounting Solutions for Farm Equipment
Mounting Solutions for Farm Equipment
Building a Mounting Solution for Tractors or Other Farm Vehicles Using RAM Mounts
When it comes to agricultural equipment, having a reliable and versatile mounting solution is essential. Whether you need to mount a GPS device, a tablet, or other equipment, RAM mounts offer a robust and flexible solution. In this blog post, we'll guide you through the process of building a mounting solution for your tractor or agricultural equipment using RAM mount components.
RAM – What’s in a Name?
The name comes from a male sheep so perhaps the company name comes from their products tough characteristics or perhaps from their desire to mount anything and everything?
Why Choose RAM Mounts?
RAM mounts are known for their durability and versatility. They are designed to withstand harsh environments and provide a secure hold for your devices. The modular design allows you to customize the mount to fit your specific needs, making them ideal for agricultural applications.
Components You'll Need
To build your mounting solution, you'll need the following RAM mount components:
- Base: The base is the foundation of your mount. For tractors, a popular choice is the RAM Tough-Claw™ or a drill-down base, depending on your mounting surface.
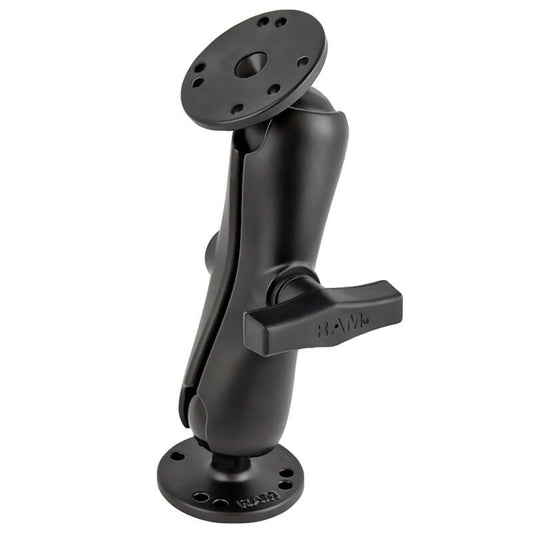
- Arm: The arm connects the base to the device holder. RAM offers various arm lengths, so choose one that provides the desired reach and adjustability. Remember that the longer the arm the more torque is being put on the base.
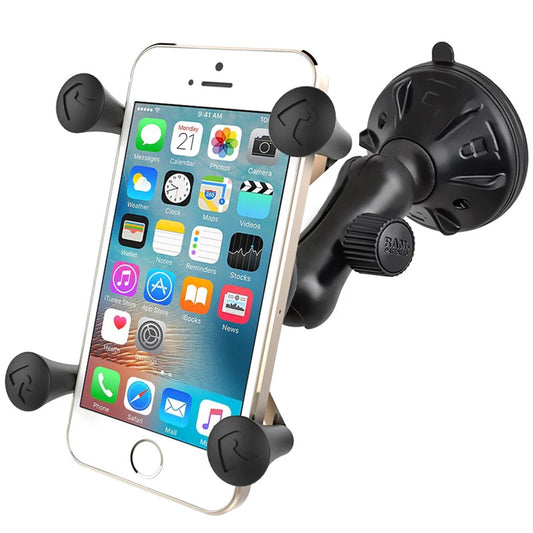
- Device Holder: RAM offers holders for a wide range of cradles for devices, including tablets, GPS units, laptops and phones. If your device has a VESA hole pattern then use a RAM VESA plate to screw directly into the device. Tab-Tite cradles come in a variety of sizes that can work for tablets with various sizes and brands of case. For some devices (GPS, tablets) there are specific cradles for those devices without any case or sleeve.
- Charging Options: If it is essential that your device is charged whilst in use (for those long days in the field) then talk to us about the various wired in and plug in charging options.
Weights and Capacities
The weight of your device will determine the size of the ball mount required to support it – bigger ball size equals larger surface area to clamp onto so greater weight capacity.
RAM get a little difficult to pin down on the difference between “Standard Use” and “Heavy Duty Use” (they also use the term “Rugged Use”) but let’s just say that anything in a farming or agricultural setting is going to be “Heavy Duty” or “Rugged” use.
B Series: 1” (25.2mm) diameter
Standard Use: 907 grams (2 lbs)
Heavy-Duty Use: 454 grams (1 lb)
So for B Series we are talking light devices only here – your phone or a small GPS.
C Series: 1.5” (37.8mm) diameter
Standard Use: 1.814kg (4 lbs)
Heavy-Duty Use: 1.36kg (3 lbs)
Tablets and larger GPS units would work in C series
D Series: 2.25” (56.7mm) diameter
Standard Use: 2.72kg (6 lbs)
Heavy-Duty Use: 2.26kg (5 lbs)
For D series we are talking about your larger systems and monitors
E Series: 3.38” (85.2mm) diameter
Standard Use: 6.8 kg (15 lbs)
Heavy-Duty Use: 4.53 kg (10 lbs)
If you’re running large devices in environments where the vibrations and knocks are constant, then the E Series is the go-to – think log skidders and other forestry equipment.
Step-by-Step Guide
- Select the Mounting Location: Choose a location on your tractor where the mount will be easily accessible and won't obstruct your view or controls. Common locations include the dashboard, roll bar, windows, seat bases or side panels.
- Install the Base: Depending on the type of base you selected, either clamp it onto the desired location or drill it into place. Ensure the base is securely attached and won't move during operation. Backing plates are available if you are thinking about screwing into thinner panels.
- Attach the Arm: Make sure you select the arm size (short / medium / long) that gets your device to its optimal viewing and access position. Connect the arm to the base. Tighten the knob to secure the arm in place. The arm's ball-and-socket design allows for easy adjustment, so you can position your device at the perfect angle. You can join some arms together and some swivel arms are available as well as rods and poles that will give more length.
- Secure the Device Holder: Attach the device holder to the other end of the arm. You may need a ball base that screws onto the rear of the tablet cradle. Make sure it is tightly secured to prevent any movement. Place your device in the holder and adjust the grip to ensure it is held firmly.
- Adjust and Test: Once everything is in place, adjust the arm and holder to the desired position. Test the mount by driving your tractor and ensuring that the device remains stable and accessible.
Tips for a Successful Installation
- Double-Check Stability: Before heading out to the field, double-check that all components are securely tightened, and the mount is stable.
- Consider Vibration Dampening: Tractors can generate significant vibrations. Consider adding vibration dampening components to protect your device.
- Regular Maintenance: Periodically check the mount for any signs of wear or loosening and tighten as necessary.
By following these steps, you can create a reliable and customizable mounting solution for your tractor using RAM mounts. This setup will help you keep your devices secure and accessible, enhancing your efficiency and productivity in the field.

